The technology of planting pumpkin seeds in open ground
There are many ways to grow pumpkin. Each of them has its own characteristics. Planting pumpkin seeds outdoors is a popular option. To perform the procedure correctly, you need to take into account the main points: timing, choice of location, preparation of the soil and the planting material itself, etc. Let's consider everything in order.

Technology of planting pumpkin seeds in open ground
Pumpkin planting dates
Pumpkin is classified as a heat-loving plant, so its seeds cannot grow in cold or damp soil.
You can start planting when the frost is over, the ambient temperature will be 18-20 ° C, and the soil at a depth of 7 cm will warm up to 10 ° C (for reliability, a thermometer is used).
It is better to germinate the planting material in the spring, a few weeks before the main procedure, so that it does not overgrow.
In the northern regions of the country, they try to plant in early June. And in the southern regions of the country, you can start as early as the 10th of May.
According to folk traditions, the best time for planting pumpkin seeds is St. George's Day, but the weather conditions should be favorable.
Choosing a landing site
The place of cultivation also significantly affects the yield indicators - it must be well lit.
It is recommended to give preference to loamy or sandy soils. It is believed that they warm up as quickly as possible after frost.
Try to plant your pumpkin after the following crops:
- carrots;
- beans and other legumes;
- cabbage;
- beets;
- tomato.
Don't plant seeds after cucumbers, squash, or watermelon. The soil should rest for about 3-5 years.
Preparing the soil for planting
Before planting, the soil must be saturated with nutrients. The preparatory processes should begin in the fall and follow the instructions:
- clear the area of weeds and other plants;
- loosen the soil at a depth of 7-10 cm to ensure better air exchange: nutrients from fertilizers will penetrate better into the soil and to the roots;
- after 14-18 days, dig up the site, during which you need to collect all the roots of the weeds.
A few days before planting, the site is again dug up and the soil is leveled.

Fertilize the soil before planting
During the active development of the pumpkin, it forms a ground stem, so it needs to provide enough nutrients.
During the spring digging of the garden plot, humus or manure should be applied: 15 kg / m².
If the soil is light, organic matter should be applied to a depth of 15 cm.In the case of heavy soils, the depth of nutrient penetration should be 10 cm.
If you do not have such an amount of organic fertilizers, you can add organic matter to the already formed holes: for 1 plant, 5 kg of substance.
Additionally, 10 g of superphosphate is poured into each well.In order not to violate the quality of the planting material, before introducing it, the substances should be mixed with the soil.
Some gardeners prefer to plant their crops on compost. This is justified by the following factors:
- the pumpkin plant will not allow weeds to grow;
- planting pumpkin in compost accelerates the decomposition of vegetation residues (other crops);
- the pumpkin crop does not allow the compost to dry out.
Preparatory procedures
The choice of planting material
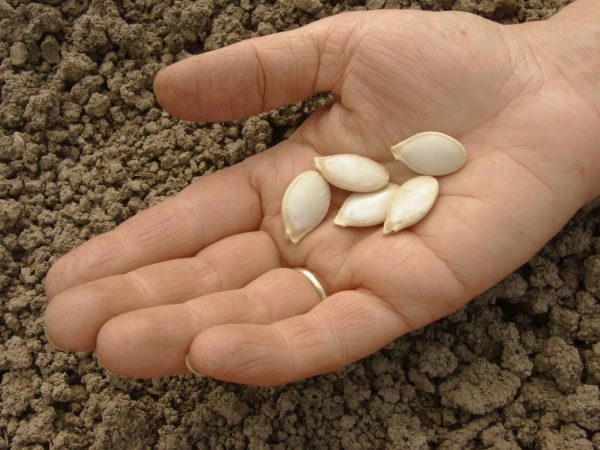
First, you should select the seeds for sowing. You can distinguish fresh from empty by the thickness of the shell (if it changes its shape when pressed, it means that the seed is not suitable for sowing).
It is best to check seeds for germination at home using water. Place the material in water for a few minutes. Those that surfaced must be thrown away.
Seed preparation
To plant seeds, and their germination was amicable, the planting material should be warmed up at a temperature of 70 ° C.
The exposure time in such conditions is 2 hours. After that, they are placed in a weak manganese solution for 10 hours to reduce the risk of developing fungal infections.
Containers (plastic glasses) are used, into which some sawdust is poured. After that, put the seeds and cover them with a thick layer of gauze soaked in water.
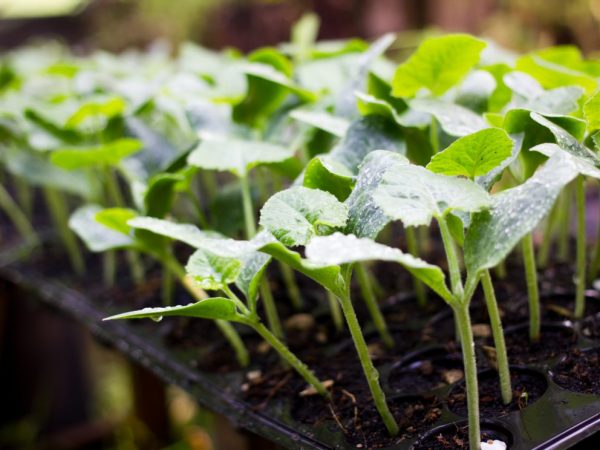
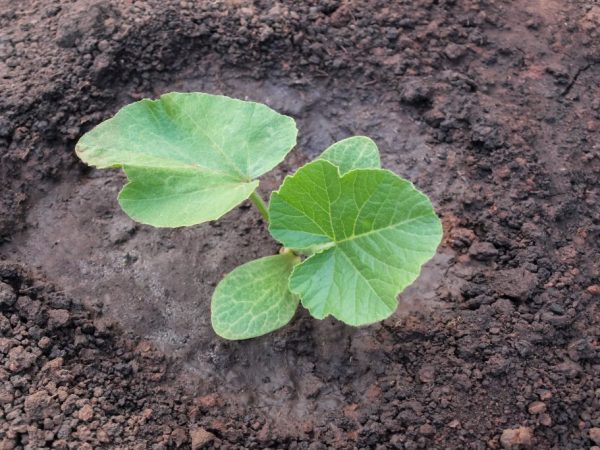
Seedlings can be planted in open ground when their length reaches 12 cm.
How to increase germination
Previously, the seeds are wrapped with gauze and placed in a solution (for 1 liter of boiling water, 200 g of wood ash). You need to withstand about 10 hours. This will improve germination.
To germinate the seedlings faster, all layers are covered with wood ash, and the containers are wrapped in foil. In just a few days, germinated seedlings will appear.
Hardening

Seedlings must be hardened
To protect the seedlings from temperature changes, you need to harden it. For this, containers with seedlings are taken out on the balcony for a day, then left on the battery for 5 hours. After that, they are placed in the lower drawer of the refrigerator for another day.
The hardened and processed seeds can already be applied to the soil.
Correct planting of seeds
Each plant needs to provide an area of 3 m². For early maturing pumpkin varieties, you can reduce the distance. For the late ones, it is increased.
First, the rows are outlined so that they are equal to each other. Then you need to prepare the holes.
Large bushes need a distance between the rows of 2 m, and between the holes - 1.5 m.For compact ones - the scheme is 90x90 cm, and the diameter of each hole is 35 cm.
Pour 5 liters of warm water into the holes (temperature 50-60 ° C). The seed is applied only after the water is completely absorbed.
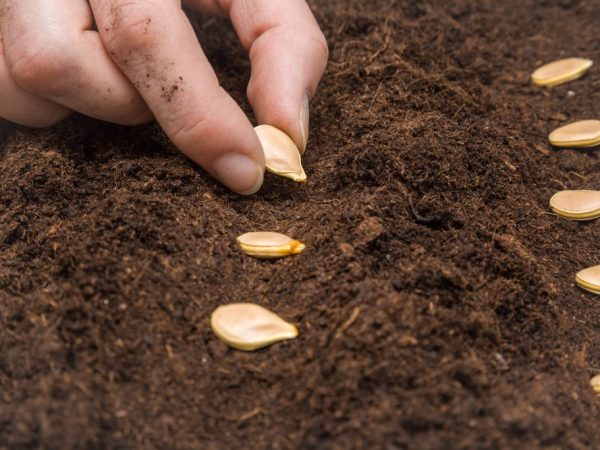
It is also important to consider the quality of the soil. In light soils, planting is carried out to a depth of 8 cm, and in heavy soils - by 4 cm. For insurance, 4 seeds are placed in each hole with their noses down. The distance between the materials in the pit is 4 cm.
Now cover the hole with soil and mulch with humus. To speed up germination, cover the beds with foil, in which make small cuts.
Landing errors
- Planting pumpkin seeds in open ground in regions with cold summers (you should give preference to the seedling method of growing).
- Planting seeds without pre-wetting.
- Planting seeds in nutrient-poor soil, without additional fertilizers.
- High density of lashes.
- Desire to grow more than 3 fruits on each bush.
- High level of moisture in the soil (frequent and abundant watering).
- Inconsistency with the landing pattern.
Care rules
If you do all the work correctly, the seeds will sprout in just a week. Sprouted bushes need full care: formation, feeding and watering.
Pinching and forming a whip
There are several ways to form a bush.
- When growing a climbing variety, it makes no sense to pinch the top of a sprouted bush. It should grow upward. The gardener is only required to direct growth. To do this, you need to tie up a bush and regularly pinch the side shoots.
- The bush variety is formed in a slightly different way. You need to pinch the top of the bush after the first fruit appears on it. The remaining ovaries need to be removed. You need to pinch other stepchildren. As a result, there should be 3 lashes and no more than 3 fruits.
Top dressing

The plant needs mandatory feeding
Heavy leaves and stems form on the pumpkin, so feeding should be regular.
Give preference to liquid fertilizers, as they penetrate better into the inner layers of the soil. 20 days after planting, 3 liters of humus solution are poured under each bush (1 kg per 4 liters of water). The interval for applying such fertilizers should be 1 week.
Some fertilizers can help minimize the damage from cloudy weather. If you notice that due to the lack of sun the plant has stopped growing, you need to feed it with a urea solution (10 g per 10 l of water). 8 liters are poured under each pumpkin bush.
Watering
The larger the leaf plate of the pumpkin, the faster the moisture from the soil will evaporate. Try to use warm water for irrigation, since cold water provokes a stop in development.
They lower the water level only at the moment when the plant begins to bloom.
Increase the amount of moisture when the fruit gains weight. A few weeks before harvesting, 8 liters of warm water should be poured under each bush.
The irrigation interval is 3-4 days. When the pumpkin has reached the correct size and weight, stop watering it.
Loosen the topsoil after watering. In the area of the bush, the depth should be 7 cm.Row space can be weeded by 12 cm.
Harvesting
For vegetables to be stored longer, you need to pick them after they are fully ripe. Signs: the stalk has become dry, the peel has acquired a uniform color, and when the shell is pressed, the seeds do not hatch and breakdowns do not form.
It is easy to recognize a ripe pumpkin by its size. A small vegetable is considered unripe.
There are a few basic rules to keep in mind:
- it is required to stop watering 5-7 days before harvesting products;
- collection is carried out in dry weather;
- the stalk must be cut off with a secateurs or a knife, leaving 12 cm on the fruit;
- the pumpkin is placed on a soft substrate so that the skin is not damaged.
Storage principles
Store vegetables in dry, ventilated and cool areas. You can't let them touch each other.
Cover the produce with straw and provide good air circulation in the room.
Check the condition of the fruit regularly. Do not store pumpkin next to apples, otherwise you will lose both vegetable and fruit crops.
If you follow all the planting and care steps correctly, you can get a large and high-quality harvest without much effort.

