Methods for drying pumpkin seeds

Pumpkin seeds are of great value to the body - they contain vitamins, minerals, amino acids and other nutrients. You can prepare this useful product yourself. Consider how to dry pumpkin seeds at home and what is needed for this?
Methods for drying pumpkin seeds
Seed preparation
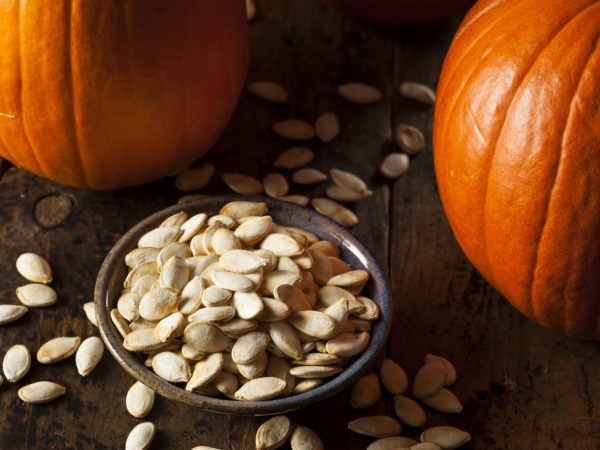
For drying at home, any sort of pumpkin is suitable - feed or table. First, you need to cut the vegetable in half and remove the pulp, which contains the seeds.
They must be freed from the pulp, rinsed under running water so that all the mucus is washed off, and the surface of the skin becomes rough.
Before proceeding with the procedure, the seeds are laid out in a thin layer on any flat surface covered with cloth. After a couple of hours, when the excess moisture is gone, you can proceed directly to drying.
Drying methods
On air
It is not difficult to dry pumpkin seeds naturally - for this you need to prepare a free area and choose a sunny day.
The technology consists of several stages:
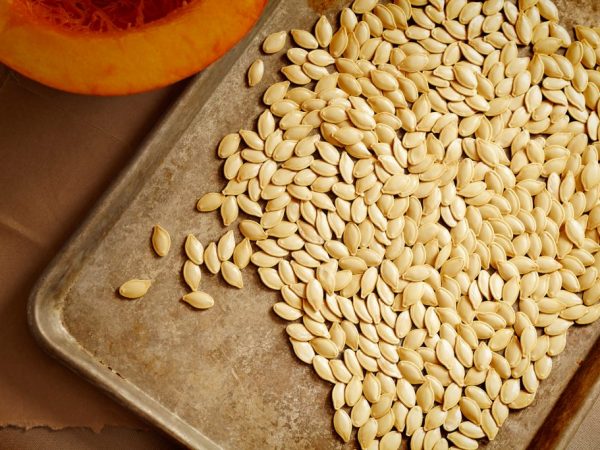
- The raw materials are laid out in a thin layer on a flat surface covered with parchment. For this purpose, you can use a baking sheet or metal sheet. Wooden surfaces will not work, because they take all the moisture into themselves, as a result of which they deform.
- The seeds should lie for several days. At the same time, it is important to monitor the weather conditions and air humidity: drying does not occur in wet, rainy weather.
- You can check their readiness by the state of the shell - it should be fragile and easily separate.
In the fruit dryer
In this case, the drying process is slightly different from the previous one. First, the seeds are washed, then laid out on trays and set to the desired temperature and time according to the instructions.
The optimum temperature is about 100 °, the duration of the process is several hours. Well-dried seeds should be dry and brittle.
In the oven
This method allows you to get the finished product in a short time, since drying takes place at a high temperature.
Separated from the pulp and washed seeds are laid out on a baking sheet in a thin layer and sent to the oven for 20 minutes (set the temperature to 180 °).
Once they are dry and brittle, place them on a cold baking sheet to cool quickly and not burn.
In the microwave
Finished seeds turn yellowish
In such an electrical appliance, it is better to dry pumpkin seeds in small portions, otherwise they will rather fry than dry out.
The preparation of seeds for drying is similar to the previous manipulations. Turn on the microwave at full power and place the seeds for 2 minutes.
In the airfryer
Drying in such a kitchen device lasts about half an hour. The temperature is set at 60 °, and the blowing power is set to maximum.
For better ventilation, open the lid slightly.If it is closed, moisture will form inside the container, which will have nowhere to go, as a result of which the seeds will remain moist.
In a frying pan
At home, you can dry the seeds in a pan - the procedure takes no more than 15 minutes. You should set the fire to a minimum and stir the raw materials constantly during the process.
How to determine readiness
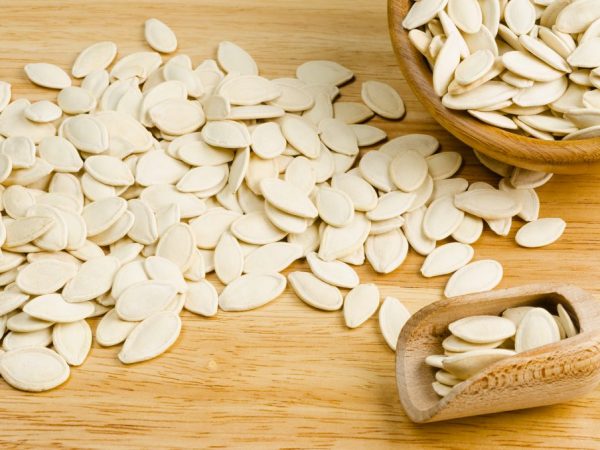
The readiness of the product can be determined by the color and condition of the peel - it acquires a yellowish tint, becomes dense and contains a clear outline along the edge. The thin film that the seed contains should slide off without difficulty.
Well-dried kernels have a dark green tint with whitish dots. When bitten, the seeds should not be wet and crumble from dryness.
Storage features
Humidity is an important storage condition.
Long-term storage of pumpkin seeds at home is only possible if they are properly dried.
Toasted seeds should not be stored for a long time, as they quickly absorb moisture and become tasteless.
Several important storage rules:
- It is necessary to choose a room with low air humidity (no more than 50%) and good ventilation. The optimum temperature is 23-25 °. The seeds are poured into a bag made of natural fabric or paper.
- It can be stored in a sealed glass container, while it is important that moisture does not penetrate inside, otherwise the seeds will quickly become damp and moldy.
- Large quantities of seeds can be stored in a tightly closed cardboard box and placed in a dry place.
- Peeled seeds do not have a long shelf life, so they must be eaten immediately or processed.
- The purchased product must be checked for the presence of a sharp oily odor - its presence indicates unsuitability for consumption. You should also pay attention to the color and condition of the skin - high-quality seeds have a uniform white color without signs of yellowness, mold and various dark blotches.
The maximum shelf life of the dried product is 1 year. After that, it loses its beneficial properties and taste, and therefore must be disposed of.
You should not buy industrial seeds - usually such a product is flavored with various spices and flavors - preservatives, salt, flavor enhancers, etc.
Conclusion
To get a tasty and healthy product for the whole family, seed harvesting should be done on your own - there are plenty of ways to do this.
It is important to select high-quality seeds, prepare them correctly and dry them to the end. Observing the storage rules, you can enjoy them throughout the year.