How to make garlic beds correctly


Garlic is an unassuming crop, but it is necessary to make beds for garlic, observing certain rules. Otherwise, the harvest will not meet the expectations of the gardener.
Making beds for garlic
Site selection
The landing site must meet strict criteria:
- This should be an open area away from buildings and trees, since the plant is photophilous.
- The soil should not be too wet: melting snow accumulates in places located in lowlands and depressions with the onset of spring.
- The optimal solution is loamy soil with low or neutral acidity.
- Preliminary composting of the site with organic substances. After the winter reheating, the soil will be well fertilized.
Tillage
At the end of the summer period, the soil is dug up. This process is accompanied by the introduction of ash, humus, potassium sulfate and superphosphate. Dig up the soil for garlic deeply - no less than 20 cm.
After that, a bed is created with a height of about 25 cm, the width should not exceed 1 m. The prepared soil should settle. If there is not enough rainfall at the beginning of autumn, the beds are watered. Completion of land sedimentation is a signal to start fertilizing and planting crops.
Disinfection of the earth
Soil treatment with disinfectants is one of the stages of preparation for planting. Topsin-M and Fitosporin are designed to eliminate fungal spores and prevent their occurrence in the future. In combination with other chemicals, Ridomil Gold and Acrobat are used.
The earth is treated with the following compounds:
- copper sulfate (40 g of the substance is dissolved in 10 liters of water);
- Bordeaux mixture (100 g of the drug is diluted in 10 liters of water);
- boric acid, combined with potassium permanganate and copper sulfate (1 g of each substance is dissolved in 1 liter of water);
- strong manganese solution (the powder is diluted in 10 liters of water until a saturated solution is formed).
A special tool is made for cultivating the land: l. vitriol is diluted in 2 liters of hot water. At the same time, 1 tbsp is placed in another container with the same volume of cool water. l. soda and ammonia.
The earth is disinfected before planting
Store-bought alcohol is added in the same amount. The volume of the pharmacy is increased by 0.5 tbsp. l. Then both solutions are mixed in a 10-liter container, adding cold water to the brim. The prepared product prevents the onset of fungal infections that attack garlic. Watering with homemade medicine is made at the rate of a 2 square meter bucket. m.
The soil is treated with herbal remedies. To avoid the concentration of fungi in the ground, gardeners resort to infusion of yarrow or calendula. After watering with preparations, it is covered with a film and left until the time of planting.
Preparing the beds
In wet soil, the height of the garlic beds should be up to 30 cm. The preparation process begins with determining the territory of the garden. Parts of slate or boards are installed along its perimeter, ground is poured inside. To trap snow in the beds, a mixture of peas and oats is planted in the soil in the autumn.
This preparation includes several stages:
- Fertilization at the end of the summer season.
- Digging and watering the site with water (these actions accelerate soil shrinkage).
- Creation of markings for beds, determination of a place for planting.
- Mixing pea seeds with oats, sowing them between future garlic rows.
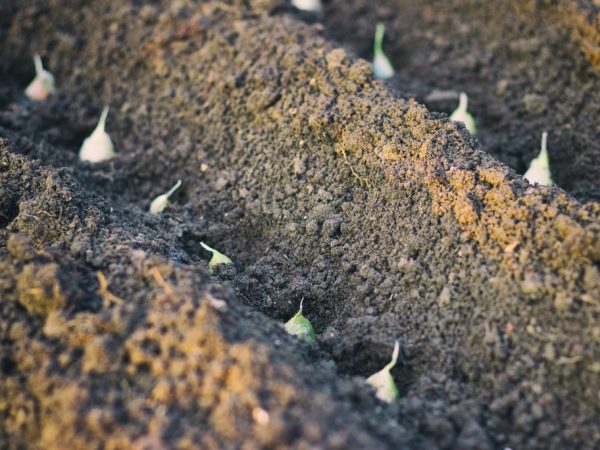
In the first decade of October, the planted plants will grow up to 20 cm, intertwine with each other. Rows of garlic are planted after a couple of weeks. This preparation method excludes the use of copper sulfate.
Conclusion
Each gardener independently chooses how to make a bed for garlic and how to prepare it for planting. The methods depend on the type of land, the availability of chemicals, fertilizers, and the individual preferences of the grower.