Hydrangea breeding rules - schemes and recommendations
Many gardeners grow hydrangeas in their own garden. The plant gained such popularity due to its lush, bright and long-lasting flowering, which pleases even in the autumn season. Consider how to propagate hydrangea and what methods exist.
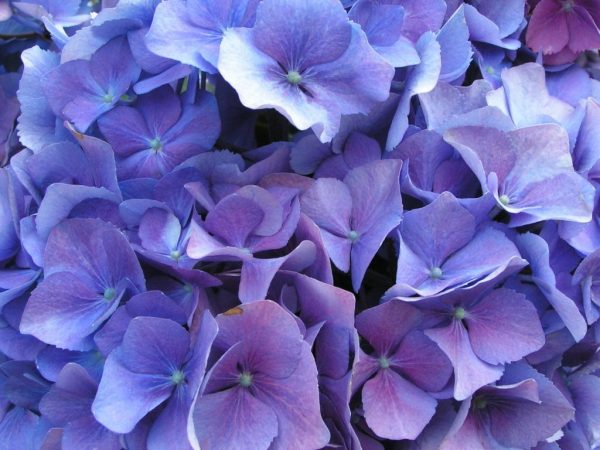
Hydrangea breeding at home
Optimal timing
For different species, different times are chosen (information is given in the table).
| Timing | Type of hydrangea | Method |
| Spring-Autumn | Arboreal, large-leaved, oakleaf and paniculate | Shrub division |
| Midsummer (second or third decade of July) | Suitable for all types | Cuttings |
| Autumn (after leaf fall) and spring (March-April) | Any bush hydrangea - petiolate (climbing), large-leaved, paniculate, oak-leaved and tree-like. | Using layering |
| Spring (early or mid-March) | Suitable for all types | Using seeds |
Also, the region where the decorative perennial is grown affects the time of the operation:
- In the Urals, Siberia, the Far East and the Central zone, spring cultivation and planting of new seedlings will be preferable. So, during the summer season, they will build up a strong root system and will well endure wintering.
- In the south and in the middle lane, it can be propagated both in spring and autumn. The main thing is to have time to plant a couple of months before the first stable cold weather, so that the seedlings take root.
Regardless of the breeding method, it should be remembered - do not disturb the blooming hydrangea. It is better to wait for the shrub to bloom, and only then proceed with the reproduction procedure.
Breeding rules
Seeds
Propagating hydrangeas using this method requires patience and some skill. But if you want to get a real strain, it's worth doing your best.
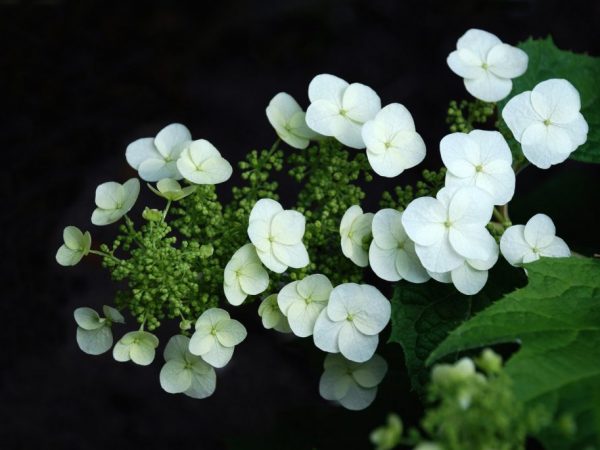
How large-leaved hydrangea reproduces
To obtain quality seedlings, it is better to use purchased seed material. The main condition is the freshness of the seeds. Therefore, pay attention to the expiration date on the packaging.
If you are going to grow seedlings from the seeds of your own shrub, choose an inconspicuous and little ornamental bush. He will give the highest quality and most complete seeds.
Before sowing, the seeds should be soaked in water, so they hatch faster: they are laid out on a moistened cotton sponge, a cloth napkin. Until the sprouts appear, they must be regularly sprayed so that they do not dry out.
The appearing processes with a length of 3-5 mm indicate the need for planting in the ground. Stages:
- A soil mixture is prepared from humus, peat, leaf, coniferous soil and coarse sand (1: 0.5: 2: 0.5). Before planting, it must be calcined in the oven, spilled with boiling water or a solution of potassium permanganate in order to destroy all pathogenic microflora.
- The seeds are laid out on the surface of a moistened substrate, sprinkled with a thin layer - 1-1.5 cm.After about a month of regular moistening, keeping it warm (23-25 ° C) and humidity at 70-75%, they will massively rise. As soon as 2 leaves appear on them, they must be cut into separate pots.
- To speed up the process of growing the root system and green mass, immediately after picking, the seedlings are spilled with a weakly concentrated solution of urea - 15 g are dissolved in 10 liters of water. Consumption per plant - 50 ml.
A transplant to the site is carried out in the first or second decade of May. For several months of growing in the open field, the seedlings will get stronger and have time to prepare for the upcoming wintering.
Cuttings
The grafting method is the fastest and most popular among gardeners. Hydrangea can be propagated at different times of the year.
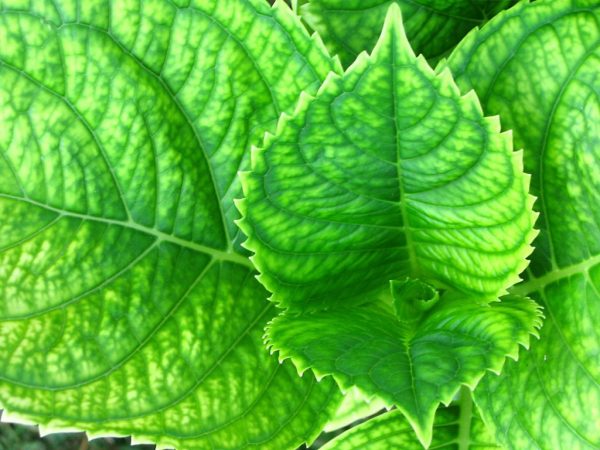
Treelike panicle hydrangea care and reproduction
In the spring
Use lignified shoots from the branches of the last year. They are cut during sanitary spring pruning. The optimal length is 15-20 cm. Each branch should have several buds and at least one internode.
The workpieces are immersed in water at room temperature for three days with the addition of Kornevin or Heteroauxin. They are planted in a nutrient mixture of peat and sand (1: 1). tilted to a depth of 3-4 cm, covered with a transparent film.
Every day, the seedlings are ventilated, as the substrate dries, they are moistened. As soon as new buds appear on them, the shelter is removed. They continue to grow for another 1-1.5 months, so that they get stronger, build up the root system. Then they are seated separately in the garden.
In summer
Take the apical parts of the shoots of the current year (they are also called green cuttings). Twigs 15-20 cm long are cut in mid-July. At the bottom, the foliage is completely removed, the top is shortened in half so that the moisture does not quickly evaporate and the planting material does not dry out. They are dipped for an hour in one of the root growth stimulants - Epin, Kornevin or Heteroauxin.
Plastic or seedling boxes with drainage holes are filled with a mixture of sand and leaf earth in a ratio of 2: 1. Cuttings are planted at an angle, covered with transparent polyethylene.
The plantings are placed in a warm place, regularly sprayed, ventilated every day so that mold does not form on the surface of the soil.
After 2-3 weeks, they should take root - new leaves on the shoots will testify to this.
Do not rush to transplant them into open ground, since they have not yet matured and can easily freeze over the winter. The seedlings are grown for a year at home, then in the spring (at the end of April or at the beginning of May) they are planted in the garden at a distance of 1-1.2 m.
In winter
To get new bushes in the winter season, you need to dig out the bushes in the fall. Store in a cool and shaded place. In early January, the plant is moved to a warm and well-lit room, where it will rapidly grow young shoots.
In February, several green stems with two internodes and buds can be cut on a bush. The top is cut at a right angle, the lower part is oblique. To prevent moisture from evaporating, all the leaves are cut off at the bottom, the leaves growing above are shortened by half the length.
To quickly root the cuttings, they are dipped into one of the root formation stimulants - Kornevin or Heteroauxin for a couple of hours.
Then take a seedling box or plastic container with holes in the bottom. Fill with a mixture of humus, peat and sand, taken in a ratio of 2: 2: 1. They are planted to a depth of 3-4 cm (at an angle and at a distance of 6-7 cm), moistened with warm water, and covered with a transparent film.
Every day they are ventilated, watered as necessary. As soon as new leaves appear on them, the shelter is removed. Grow at home until spring. Planted on the site in late April or early May.
Layers
This is a quick and easy way to reproduce. The procedure is started in the fall, when the shrub leaves the leaves.On it, the longest and most flexible lignified branch is chosen, close to the ground.
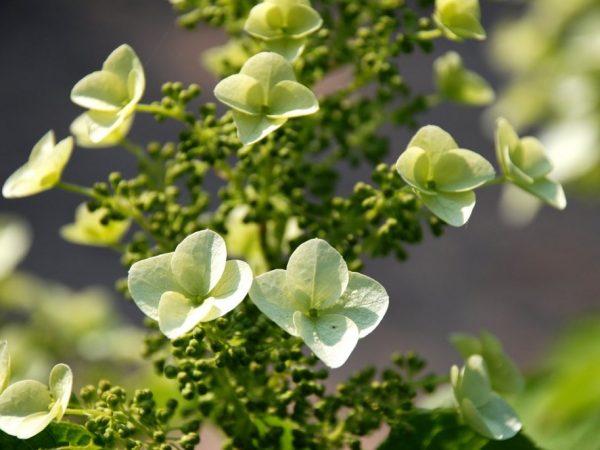
Hydrangea indoor care and reproduction
Nearby, a trench is dug 6-7 cm deep. The bottom is sprinkled with a nutritious soil mixture - humus is mixed with peat and sand (2: 2: 1). A branch is lowered in a horizontal position, fixed with brackets, sprinkled with the remaining fertile composition, watered.
On the eve of autumn frosts, they are covered with mulch - fallen leaves, sawdust or peat. So the twig will not freeze over the winter.
With the arrival of spring, when the snow thaws, the last cold weather will pass, the shoot is dug up, cut off from the mother plant. Divide into several segments so that each has 2-3 roots with one growth point. They are planted in open ground using the same technology as purchased seedlings.
With regular watering, rooting occurs in 2-3 weeks.
By dividing the bush
This breeding method is suitable for many garden chrysanthemums:
- paniculate (Vanilla Frazi, Diamond Rouge, Grandiflora, Limelight);
- tree-like (Pink Anabel, Incredibol, Pink Pinkushen, Sterilis);
- large-leaved (Pink, White Wave, Howaria, Ripple, Romance).
Usually, the rhizome is divided from old shrubs that need rejuvenation. Also, this procedure is carried out in case of damage to the root system by rot.
They start dividing the bush in the spring before the leaves begin to bloom. It is abundantly watered, dug in, then dug up together with an earthen clod. They are washed from the remnants of soil, carefully inspect the roots - if there are rotten areas, they are cut out to healthy tissue, and after drying, they are powdered with charcoal.
The rhizome is divided into parts so that each has several roots and at least one growth point. Places of cuts are treated with copper sulfate, then seated separately in the garden.
Follow-up care
In order for young seedlings to take root and take root faster, they need to be provided with competent and timely care.
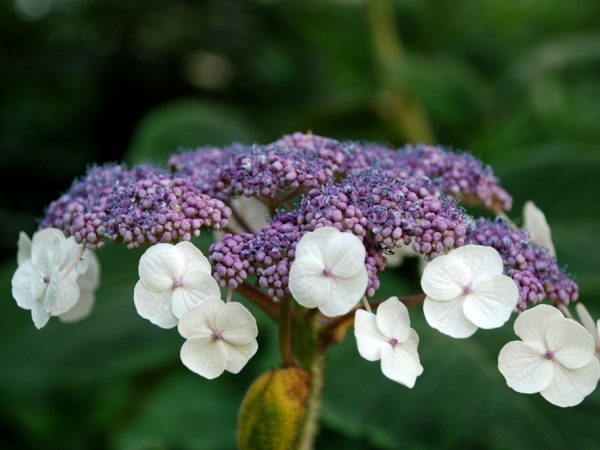
Hydrangea garden planting and care in the open field reproduction photo
In the first two weeks, they are shaded from the scorching sun with agrofibre or burlap. Such material will protect the bushes from wilting and drying out.
Watering
In order for young plantings to take root quickly, they need to be watered often every day, 4-5 liters of water are poured under one bush. In this case, it is worth adding a root growth stimulator - Epin, Kornevin or Heteroauxin.
After 3 weeks, moisture is required only as the soil dries to a depth of 6-7 cm. If the summer is rainy, the hydrangea is not watered.
A day after watering, it is necessary to superficially loosen the near-stem zone to ensure good access of oxygen and moisture to the roots. It is also worth regularly removing weeds, weeding the ground between the rows. Additionally, they add mulch from sawdust, peat so that the soil does not dry out quickly.
Top dressing
When planting in autumn, fertilizers are not needed, since the plants have enough nutrients laid in the pits. The only thing that should be done 2 weeks before the first cold weather is to mulch the trunk circle with peat, compost or humus.
Young seedlings obtained in spring are fertilized several times per season:
- immediately after planting - watered with a solution of urea - 15 g per bucket of water to stimulate intensive growth of roots and green mass;
- at the stage of laying flower buds - fertilized with a mixture of potassium sulfate and superphosphate - 1 tbsp each. for 10 liters of water;
- in the fall, when the bush sheds its leaves, add humus and compost - 10 kg per 1 m².
Pruning
Young shrubs do not need shaping in the first year of planting. The only thing that can be done is to cut the branches by 10-12 cm in order to stimulate the buildup of new growth. This procedure is carried out in the spring.
In the fall, before wintering, all sick, dry, wind-damaged branches are cut out.
Preparing for winter
Large-leaved is characterized by weak resistance to cold, so it should be thoroughly insulated.The trunk circle is mulched with a thick layer of peat, sawdust or fallen leaves. The crown is insulated with sacking, then covered with spruce branches.
All other varieties can winter without insulation. The only thing is that you need to mulch the near-stem zone with one of the above materials to protect the roots from freezing.
Diseases and pests
Seedlings bred in spring need preventive treatment. The most common plant disease is chlorosis - a lack of iron in the soil. To avoid its appearance, it is necessary to feed the shrubs with chelating preparations in time.
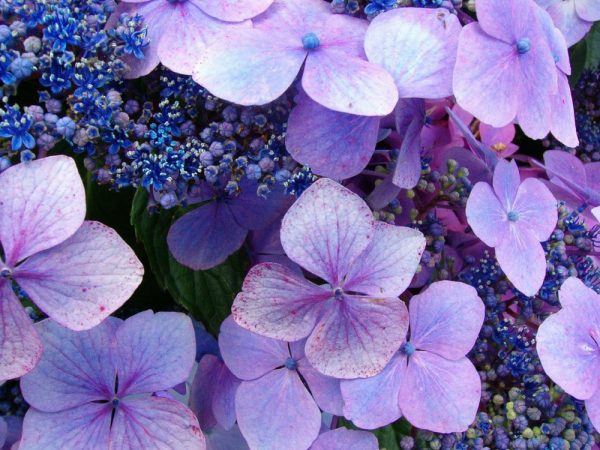
How to propagate indoor hydrangea
To protect against fungal infections, hydrangeas are irrigated twice a year - in early spring before the buds swell and in the fall after leaf fall with copper chloride.
For pests, insecticides are used - Actellik, Karbofos or Fitoverm. To prevent their invasion, you should irrigate the bush and the soil under it in early spring, before flowering and after it ends.
It is also worth avoiding thickening of the plantings, regularly removing weeds, fallen leaves in the flower garden, digging up the ground, watering and cutting out diseased parts on the plant in time.
Gardeners' recommendations
When breeding hydrangeas, there are several important recommendations to consider.
- Use faded, healthy and mature shrubs with a well-developed crown and rhizome for reproduction. Such specimens easily tolerate stress after the separation of the planting material.
- Strictly adhere to deadlines for a particular species.
- Observe the rules for harvesting the material, since the success of the survival rate of new seedlings, their growth and decorativeness will depend on its quality.
- Use a sterile and fertile substrate for rooting.
- Do not rush to transplant diluted plants into open ground, since not matured seedlings with a poorly developed root system may not take root.
- At first, young bushes need to be provided with timely and proper care, which will ensure intensive growth and lush flowering in the future.

