When and how to plant tomatoes with seeds


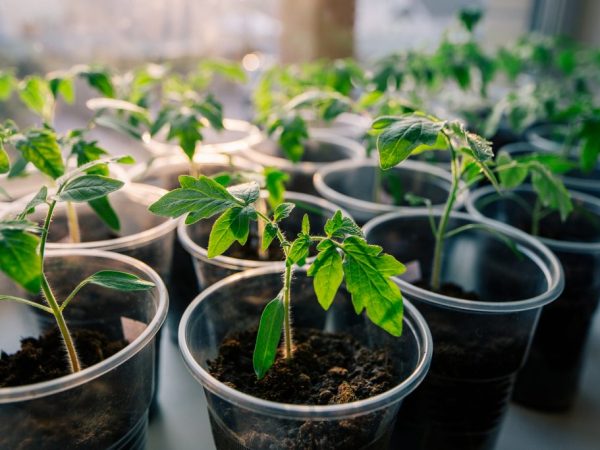
Traditionally, tomatoes are grown by seedling, but tomatoes can be planted with seeds in open ground. Such plantings will not be inferior in growth to those plants that are planted in the ground at the age of 40–45 days.
- Sowing dates for tomatoes
- The benefits of planting tomato seeds
- Seed preparation
- Degreasing
- Germination
- Other seed preparation methods
- Soil preparation
- How to choose soil
- Preparing the soil mixture
- Sowing scheme
- Sowing seeds
- Weeds
- How to mark sprouts
- Watering
- When and how to water
- Warming watering
- Removing excess shoots
- Top dressing
- The first podkomka
- Second feeding
- Protection against diseases and pests
- Conclusion
Planting tomatoes with seeds
Sowing dates for tomatoes
The timing of sowing tomatoes depends on the climatic conditions of the region and on the selected crop variety. According to the ripening period, tomatoes are divided into three groups:
- Early ripe. These varieties include those in which the period from the appearance of the first shoots to the technical maturity of the fruit is from 85 to 105 days.
- Mid-season. The fruits of these varieties reach technical maturity after 120 days from full germination.
- Late ripening. The ripening period begins more than 120 days after the tomato sprouts appear.
The first seedlings of tomatoes appear five to six days after sowing under favorable conditions. It is recommended to draw up a tomato planting calendar. A correctly calculated planting time is the key to a good harvest.
Wait until the snow melts and the ground warms up well before sowing tomatoes in a permanent place. The average daily air temperature should not fall below 10 ° C if tomatoes are planted in a greenhouse. When planting a crop in open ground, the thermometer readings cannot fall below 13 ° C.
The benefits of planting tomato seeds
If you haven't managed to grow tomato seedlings, don't worry. Planting tomato seeds outdoors can also yield a good harvest. The advantages of planting a crop with seeds:
- The plant gets used to sunlight from the first minutes of its life. Thanks to this, the culture acquires a strong immunity.
- Hardening of plantings of tomatoes from seeds occurs directly in the garden.
- The bushes have no space limitation. As a result, the root system grows much faster than in a plastic cup. The roots of tomatoes are more developed and powerful.
- The plant is not exposed to unnecessary stress from diving, transplanting.
- The culture is not subject to blackleg.
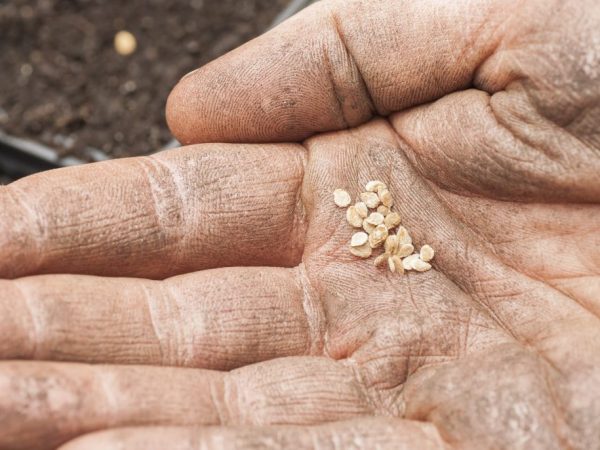
Seed preparation
To get strong and healthy plants from seeds, choose your seed responsibly. When buying seeds, choose early or mid-early tomato varieties. Pay attention to the expiration dates of the proposed planting material.
Degreasing
Further, the selected seeds must be prepared for planting - to carry out disinfection. To do this, dip them in a 1% manganese solution for 2-3 hours. Stir the seeds well. After the allotted time, some of the seeds will float, the rest will drown. Catch those that remain on the surface, they are not suitable for further use.
Germination
Catch the remaining swollen seeds and spread them on gauze or a piece of cloth slightly moistened with warm water or in an ash solution. Make sure that the workpiece does not dry out. You can add warm, settled water. Prevent the seeds from floating.
After three to four days, the first signs of hatching will appear. The seeds are ready for planting in the ground. Germinating seeds will speed up the emergence of seedlings in the garden.
Other seed preparation methods
You can treat seeds with growth stimulants
There are other ways to prepare seeds for planting. These recommendations are collected from the experience of professional gardeners:
- Spread tomato seeds on a cloth, soak them in warm water and heat them at a temperature of 26-28 ° C above zero for several hours.
- Soak the seed in warm water and leave in a warm place for a day.
- Treat the selected material with growth stimulants, which are offered in huge quantities in specialized stores. They must be used strictly in accordance with the instructions.
You can also sow dry tomato seeds in open ground.
Tatiana Orlova (Candidate of Agricultural Sciences):
With a seedless method of growing tomatoes, seed consumption increases by 2-3 times. Therefore, for growing hybrid tomato plants, in which the seeds are quite expensive, it will not work.
Soil preparation
Prepare the soil before planting seeds in your garden beds. If there is already a bed, then it is enough to apply organic fertilizers and dig up the soil. Depending on the composition of the soil, you can use wood ash, rotted mullein or bird droppings. This procedure is carried out in the fall. In the spring, it remains only to loosen the ground, pour abundantly with warm water. For faster heating of the soil, cover the area with a film.
Tatiana Orlova (Candidate of Agricultural Sciences):
When sowing seeds directly into open ground, the soil must be very carefully cut. The soil particles should not be larger than the millet grain.
How to choose soil
Choose a bed for tomatoes in an open area, well-lit and protected from drafts. In this area, make holes with a diameter of 30 to 35 cm and a depth of up to 40 cm. Select soil from them and fill them with a ready-made substrate. Pour in the soil mixture with a small margin, because after watering the earth will settle. Cover the resulting bed with plastic.
Do not plant tomatoes in the ground where decorative flowers grew. For tomatoes, land from those areas that were occupied by perennial grasses is more suitable. To improve the quality of the soil, take humus three years ago.
Preparing the soil mixture
You can make your own tomato potting mix. To do this, take in equal parts humus, peat and turf from your site. Then add one teaspoon of urea, superphosphate, potassium preparations. Mix the resulting mixture well so that there are no lumps.
Sowing scheme
For proper plant development, follow the rules for sowing seeds:
- Break the holes at a distance of at least 40 cm from each other. In the process of development, tomatoes grow, build up abundant green mass. Too thickened plantings will prevent the plants from receiving enough light and moisture.
- Make the row spacing at least 70 cm wide. This will facilitate in the future weeding the beds, hilling bushes, watering and applying top dressing.
- If the area of the beds does not allow adhering to such a scheme for planting tomatoes, then choose one of the standard tomato varieties. The seed shops offer Katyusha, Flame, Don Juan, Peruvian and many others.
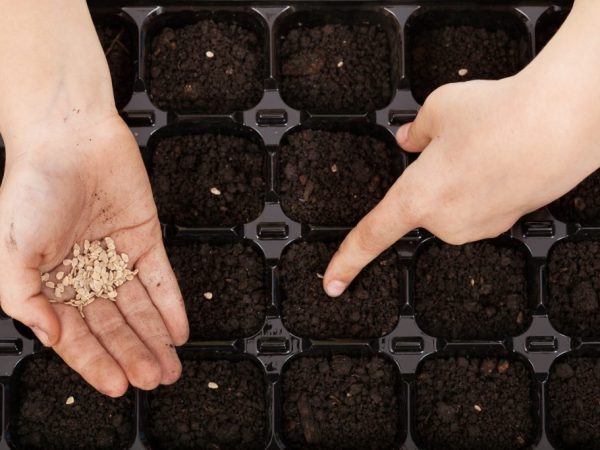
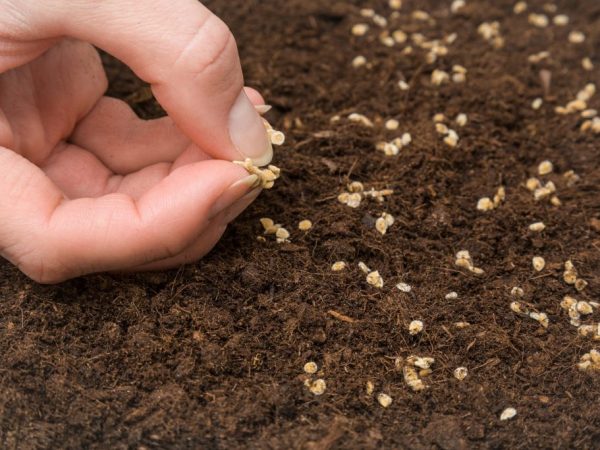
Sowing seeds
Stick to the rules
Favorable days for planting tomato seeds in the ground begin in the second half of May. During this period, there is practically no threat of sudden night frosts, as well as sudden temperature changes. Plant seeds in accordance with the following rules:
- Apply several seeds to the holes.If you plan to leave one sprout at a time, then initially plant 3-4 seeds. If you want to keep two plants, then put 4-6 seeds in each hole.
- Place the seeds in the holes 2 cm deep. You can make the holes deeper, put the seeds in them and cover them with earth with a layer of 2 cm. This method will facilitate the further hilling of the bushes.
- When spreading seeds into holes, observe the distance between them. The seeds should be at least 2-3 cm apart. In this case, when thinning the plantings, you will not damage the plants that you plan to leave.
- For the first month after sowing, take care of covering your plants at night. Use a film or agrofiber for this. Do not forget to open the beds during the day. Otherwise, the plants inside may burn out.
The first shoots may appear in three days, some will sit in the ground for up to two weeks.
Tatiana Orlova (Candidate of Agricultural Sciences):
To achieve friendly shoots, it is necessary that the tomato seeds are at the same depth when sowing. For this, the bottom of the hole, where the seeds will be laid, is slightly compacted. Seeds laid in loosened soil can sink to a greater depth and sprout much later.
Weeds
Tomato beds are quickly overgrown with weeds, so it is necessary to remove them in a timely manner.
How to mark sprouts
Dip a plastic bottle ring into each hole before sowing seeds. Large bottles of beer, water, kvass are well suited. Cut them into pieces up to 10 cm high. Then sow seeds into these blanks.
So you can easily find your plantings among the weeds. In the future, you can not remove them. They will not interfere with tomatoes, and by removing it, you can damage the foliage of young sprouts.
Watering
Do not water the tomato beds before the first shoots appear. This is due to the fact that after watering, the top layer of the earth turns into a crust and it is difficult for small sprouts to break through it upward.
When and how to water
For normal development, tomato sprouts need sufficient moisture. Do not overflow the beds, this leads to diseases of the root system, which end in the death of plants.
The signal that it is time to water the plant is the slightly dried top layer of the earth. Water the plantings with special care. Make sure that moisture does not get on young leaves or thin stems of sprouts. Use only warm and settled water.
Warming watering
If, after planting the seeds, the temperature drops sharply and the plants froze, you can pour boiling water over the beds. This method is recommended to be used very carefully. Take enough hot water up to 90 ° C and pour the tomato plantings into the holes in a circle, starting with a larger diameter and gradually approaching the stem. This will prevent freezing of the seedling root system.
Removing excess shoots
Weak shoots must be removed
When the seedlings of the tomatoes have risen, and they have already developed two or three true leaves, it is time to start thinning the plantings. Remove the weakest ones too. Don't delete everything at once, remove one or two.
After 7-10 days, 2-3 more leaves will appear on the seedlings. Now inspect all the shoots and leave only strong shoots.
When removing excess plants, do not pull them out, as you will damage strong seedlings. The discarded sprouts can be cut off with a fingernail or a small knife.
Top dressing
After thinning the beds, do not forget to feed the tomatoes. The optimal time for this is three to four days after removing excess shoots.
The first podkomka
For the first feeding, it is better to use a urea solution. Composition: 15 gr. dry fertilizer, 10 l. water. Use 1 liter. for each hole. After the introduction of nitrogen-containing preparations, the soil in the beds is mulched.
Second feeding
The next top dressing will be useful at the beginning of the flowering period. During this period, the plant is fed with a complete mineral fertilizer containing equal proportions of nitrogen, phosphorus and potassium.
Minerals
Prepare a dry mixture of these preparations. The ratio of nitrogen, phosphorus and potassium should be 1: 2: 1. Consumption of the nutrient mixture is 30 g. fertilizer per square meter. Apply fertilizer as follows:
- make grooves 5–7 cm deep at a distance of 20 cm from the bushes;
- pour the resulting grooves well;
- pour a dry mixture of minerals into them;
- sprinkle with earth on top.
Organic
If you don't have mineral fertilizers at hand, replace them with organic ones. The simplest of these is mullein infusion. It must be prepared in advance:
- Pour dry mullein into a large barrel.
- Pour 10 liters of fertilizer into 1 bucket. water.
- Leave it on for 10-15 days.
Dilute the infusion obtained in this way with clean water in a ratio of 1 to 10 and water the beds. Solution consumption is 1 liter per 1 bush.
Protection against diseases and pests
Tomatoes are very susceptible to late blight. This disease develops with high humidity and sharp drops in temperature.
To protect the plantings from the development of unwanted diseases, spray the beds with a solution of Bordeaux liquid. The concentration of the mixture should not exceed 1%.
Take preventive pest control measures. Use insecticides. Use them strictly in accordance with the manufacturer's instructions.
Conclusion
There are many ways to plant tomatoes. If you choose to grow in open ground, observe the planting dates and properly organize the care of the crop.
